 Mowo
Your first scene
Find your way around Mowo Editor, place and edit actors, save the level as a .mmap file and test it with Play.
This page walks through the loop you repeat every day: open a level, place actors, adjust them, save, and press Play to test. It assumes you have created a project. Every shortcut below is the editor's default binding.
Open the project
If you created the project in the Project Launcher, the editor is already open. Otherwise start it with your manifest:
& .\Engine\Binaries\win-x64\dev\MowoEditor.exe --project D:\Projects\MyGame\MyGame.mprojectThe editor opens the project's start scene. A template project opens Content/Scenes/Main.mmap. A project without a start scene, such as one from mbt init, opens an empty Untitled level. To begin a fresh level at any time, use File › New Scene.
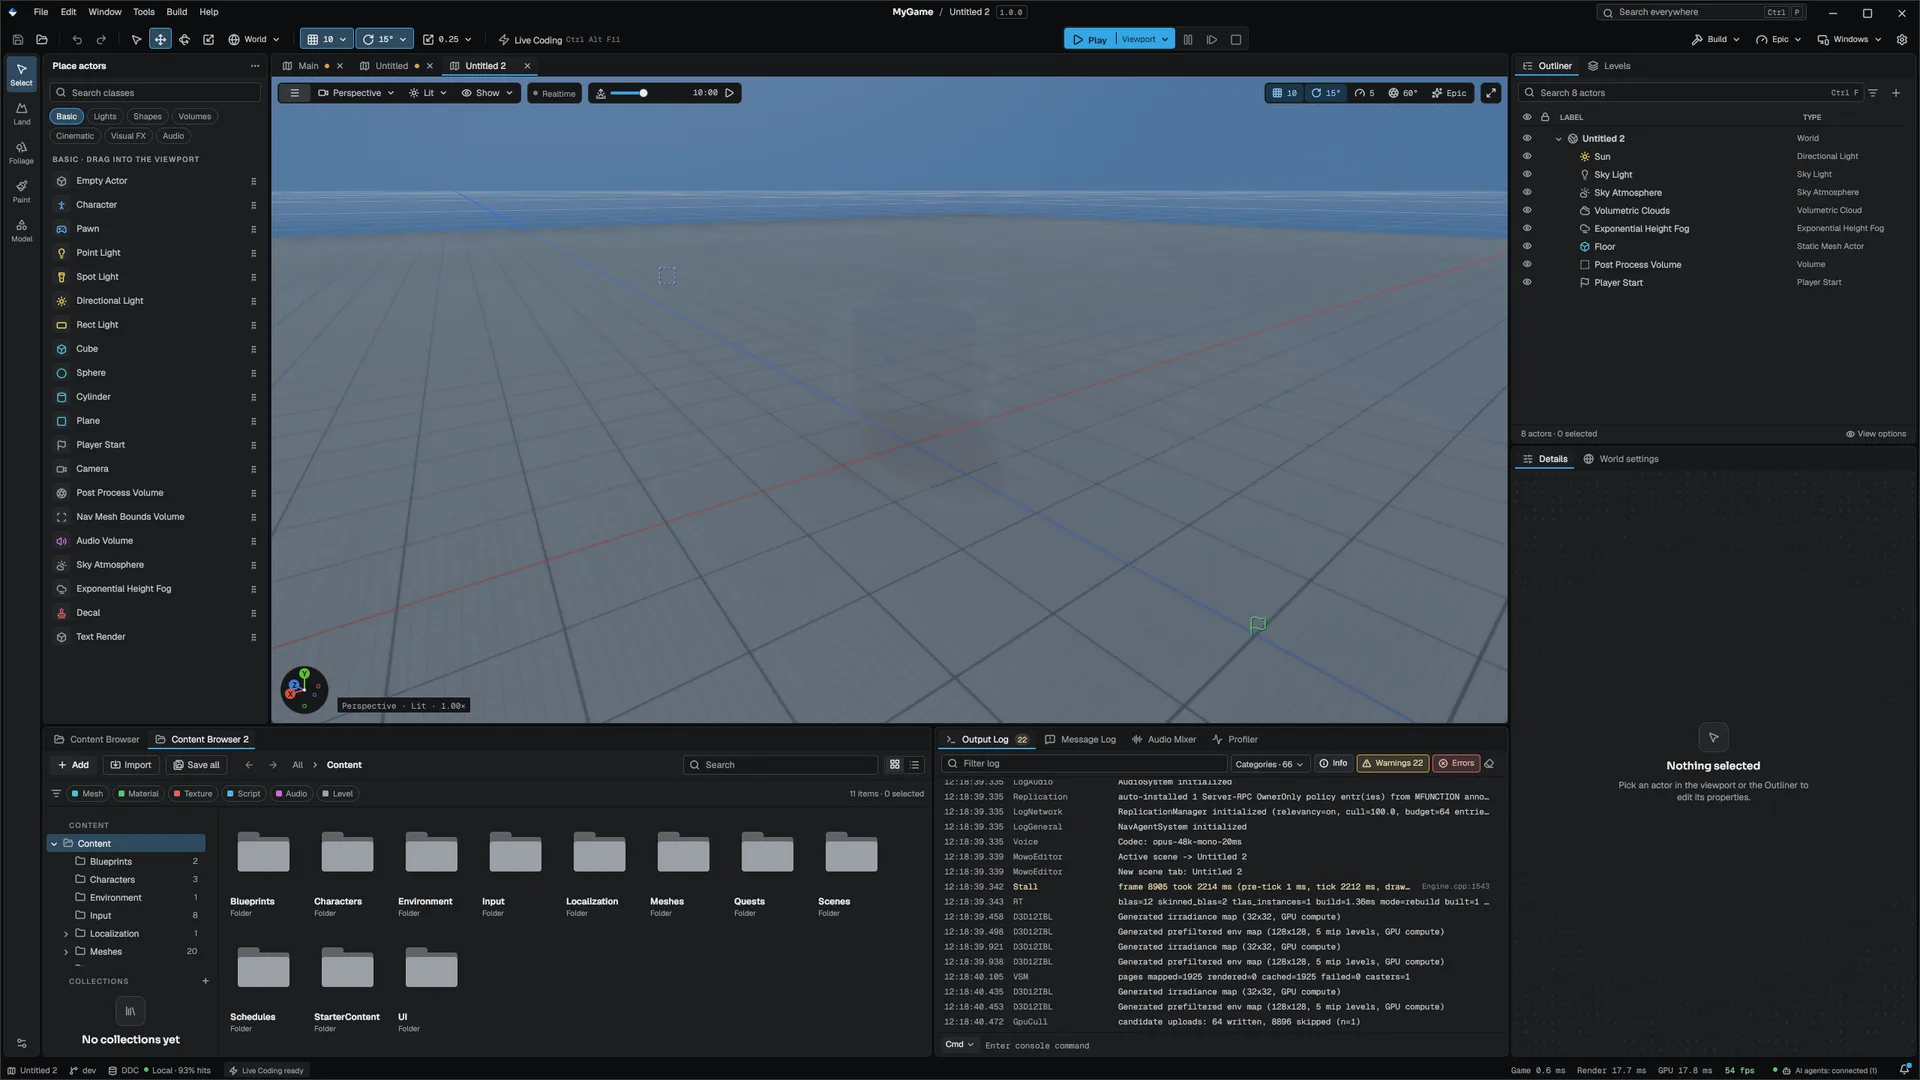
The editor layout
| Region | Panel | What it does |
|---|---|---|
| Center | Viewport | The level, rendered live. You fly through it and move actors with the gizmo |
| Left | Modes | Places actors, and switches to the other editing modes |
| Right, top | Outliner | The level's actors as a tree: select, rename, reparent, delete |
| Right, bottom | Details | The selected actor's components and properties, built from reflection |
| Bottom | Content Browser | The project's Content/ folder with thumbnails |
Every panel is a tab you can move, split or float. More panels, such as the Output Log, Profiler and Render Debug, open from the Window menu. The Editor section covers each one.
Move around the viewport
Hold the right mouse button in the viewport to fly the camera, and use W A S D to move, Q and E to go down and up. Without the right mouse button, the same letters are editing shortcuts:
| Shortcut | Action |
|---|---|
| Q | Select tool |
| W / E / R | Translate / rotate / scale gizmo |
| F | Frame the selection |
| G | Game view: hide editor-only icons |
| Alt+2 … Alt+6 | Wireframe, Unlit, Lit, Detail Lighting, Lighting Only |
| Ctrl+Z | Undo |
| Ctrl+K | Command palette |
Place actors
The Modes panel places actors. Its cards come from the placeable-actor registry, grouped into categories such as Basic, Lights, Gameplay, Volumes, Visual FX and World.
- Add a floor
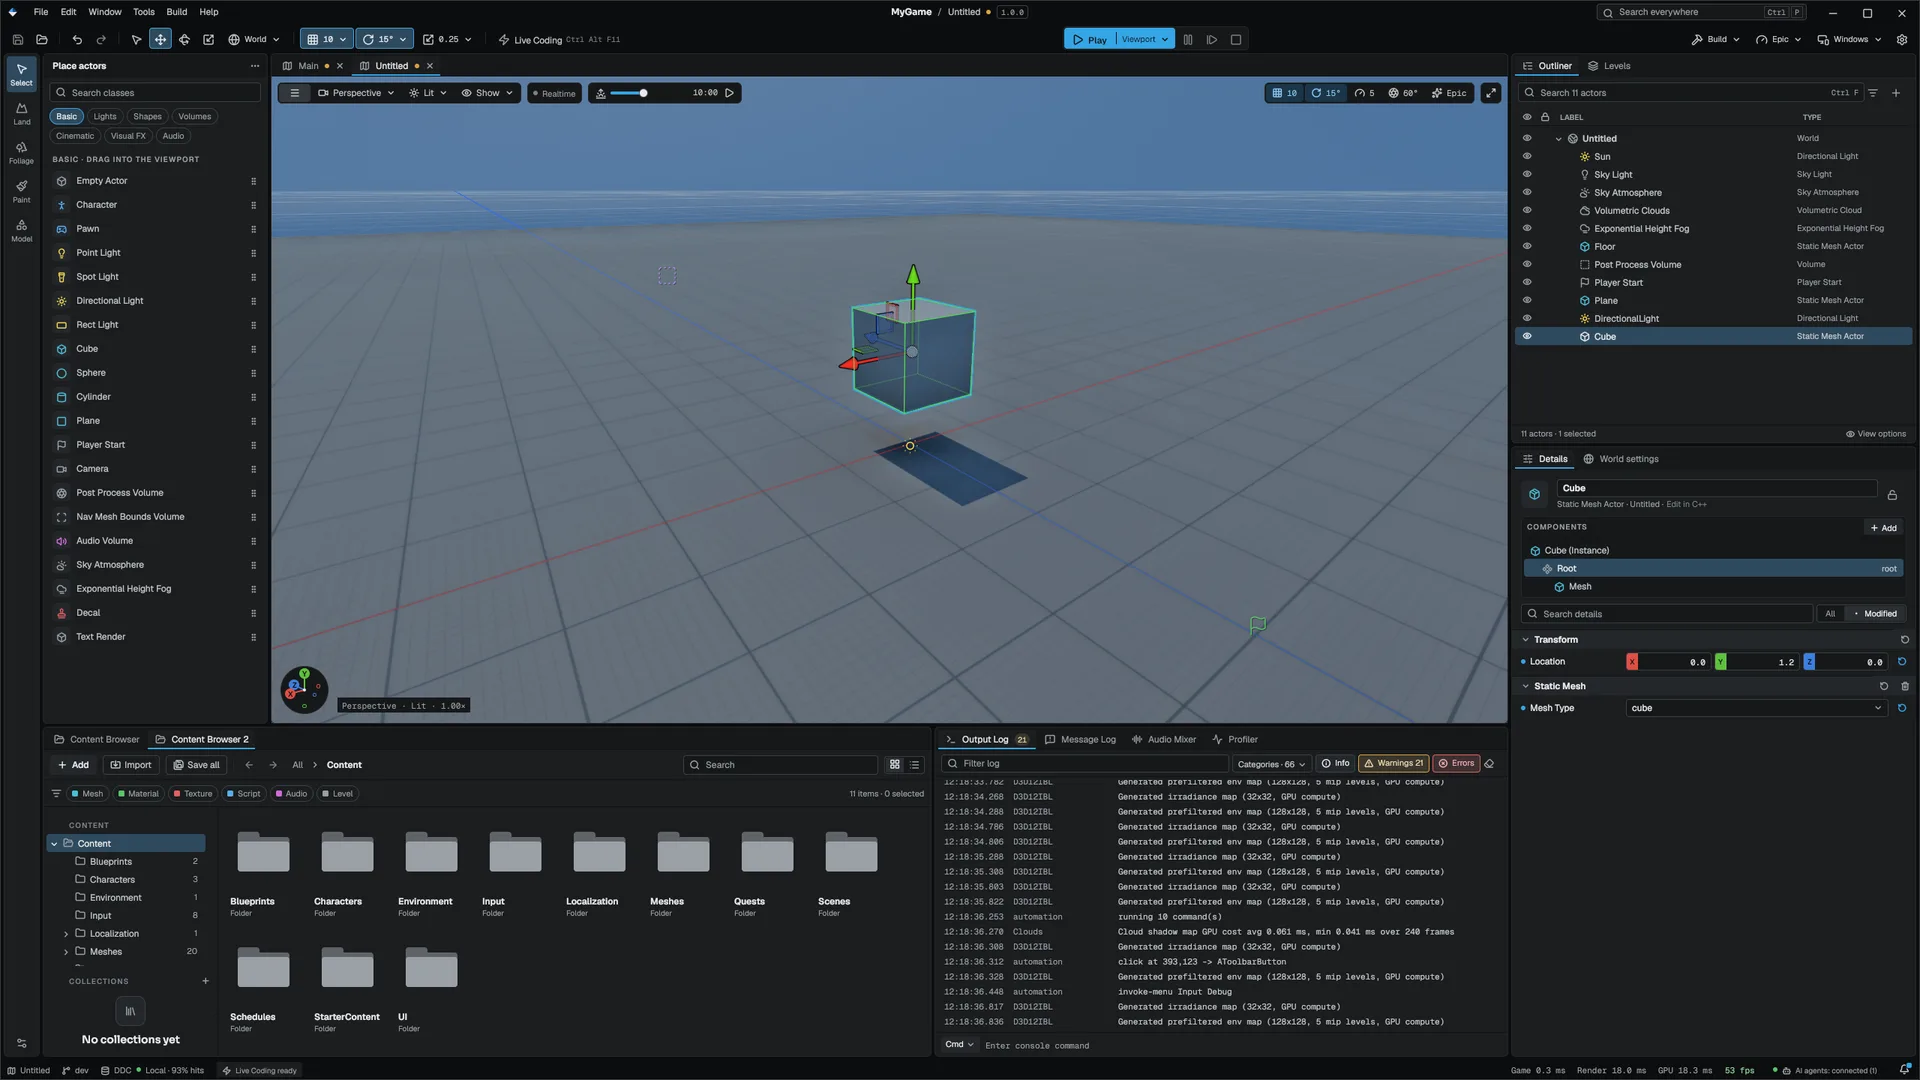
In Basic, drag Plane into the viewport. A dragged card lands where the cursor meets the level.
- Add something to look at
Click Cube in Basic. The new actor is selected, so the gizmo appears on it. Press W and drag the arrows to lift it above the floor.
- Light it
In Lights, click Directional Light.
- Add a player start
In Gameplay, click Player Start. It has no mesh, so the viewport shows it as an icon.
Each placement is one undo step. The last six types you placed appear under Recently placed.
Edit actors
Click an actor in the viewport or in the Outliner to select it. The Details panel shows its components and properties, built from the class's reflection data. Type a value or drag a numeric field to change it. Every edit is one undo step.
In the Outliner, drag one actor onto another to make it a child. A child's transform is then relative to its parent.
Save the level
Press Ctrl+S (File › Save). An untitled level has no file yet, so the editor opens a save dialog in the project's Content/ folder.
- Pick a name
Open the
Scenesfolder and type a name such asMain. You can leave out the extension: the editor adds.mmap. - Save inside Content
Confirm the dialog. The level tab takes the file's name and the Content Browser shows the new asset.
| Command | Shortcut |
|---|---|
| File › Save | Ctrl+S |
| File › Save Scene As… | Ctrl+Shift+S |
| Save All | Ctrl+Shift+Alt+S |
Levels must live under Content/. A path outside the project's content tree is refused, and the level stays untitled. Cancelling the dialog also counts as a failed save.
To make this level the one your project starts with, open Edit › Project Settings…, go to Maps & Modes and pick it as Start Scene.
What a level file looks like
The Blank template ships its start level as text you can read and diff, a floor and a sun:
Scene "Main" {
	version: 2
	description: "Blank world"

	Environment {
		ambient_color: vec3(0.3, 0.3, 0.32)
		ambient_intensity: 0.6
		ibl_enabled: false
	}

	Entity "Floor" {
		Transform {
			position: vec3(0.0, -0.5, 0.0)
			rotation: vec3(0.0, 0.0, 0.0)
			scale: vec3(40.0, 1.0, 40.0)
		}
		MeshRenderer {
			mesh_type: "cube"
		}
		Material {
			base_color: vec4(0.5, 0.52, 0.55, 1.0)
			metallic: 0.0
			roughness: 0.9
		}
	}
	Entity "Sun" {
		Transform {
			position: vec3(0.0, 20.0, 0.0)
			rotation: vec3(-0.9, -0.5, 0.0)
			scale: vec3(1.0, 1.0, 1.0)
		}
		Light {
			type: Directional
			color: vec3(1.0, 0.98, 0.92)
			intensity: 1.3
		}
	}
}
A level the editor saves can be written in the project's package format instead, and the file itself says which. Edit levels in the editor rather than by hand. See Content pipeline for the asset formats.
Play in the editor
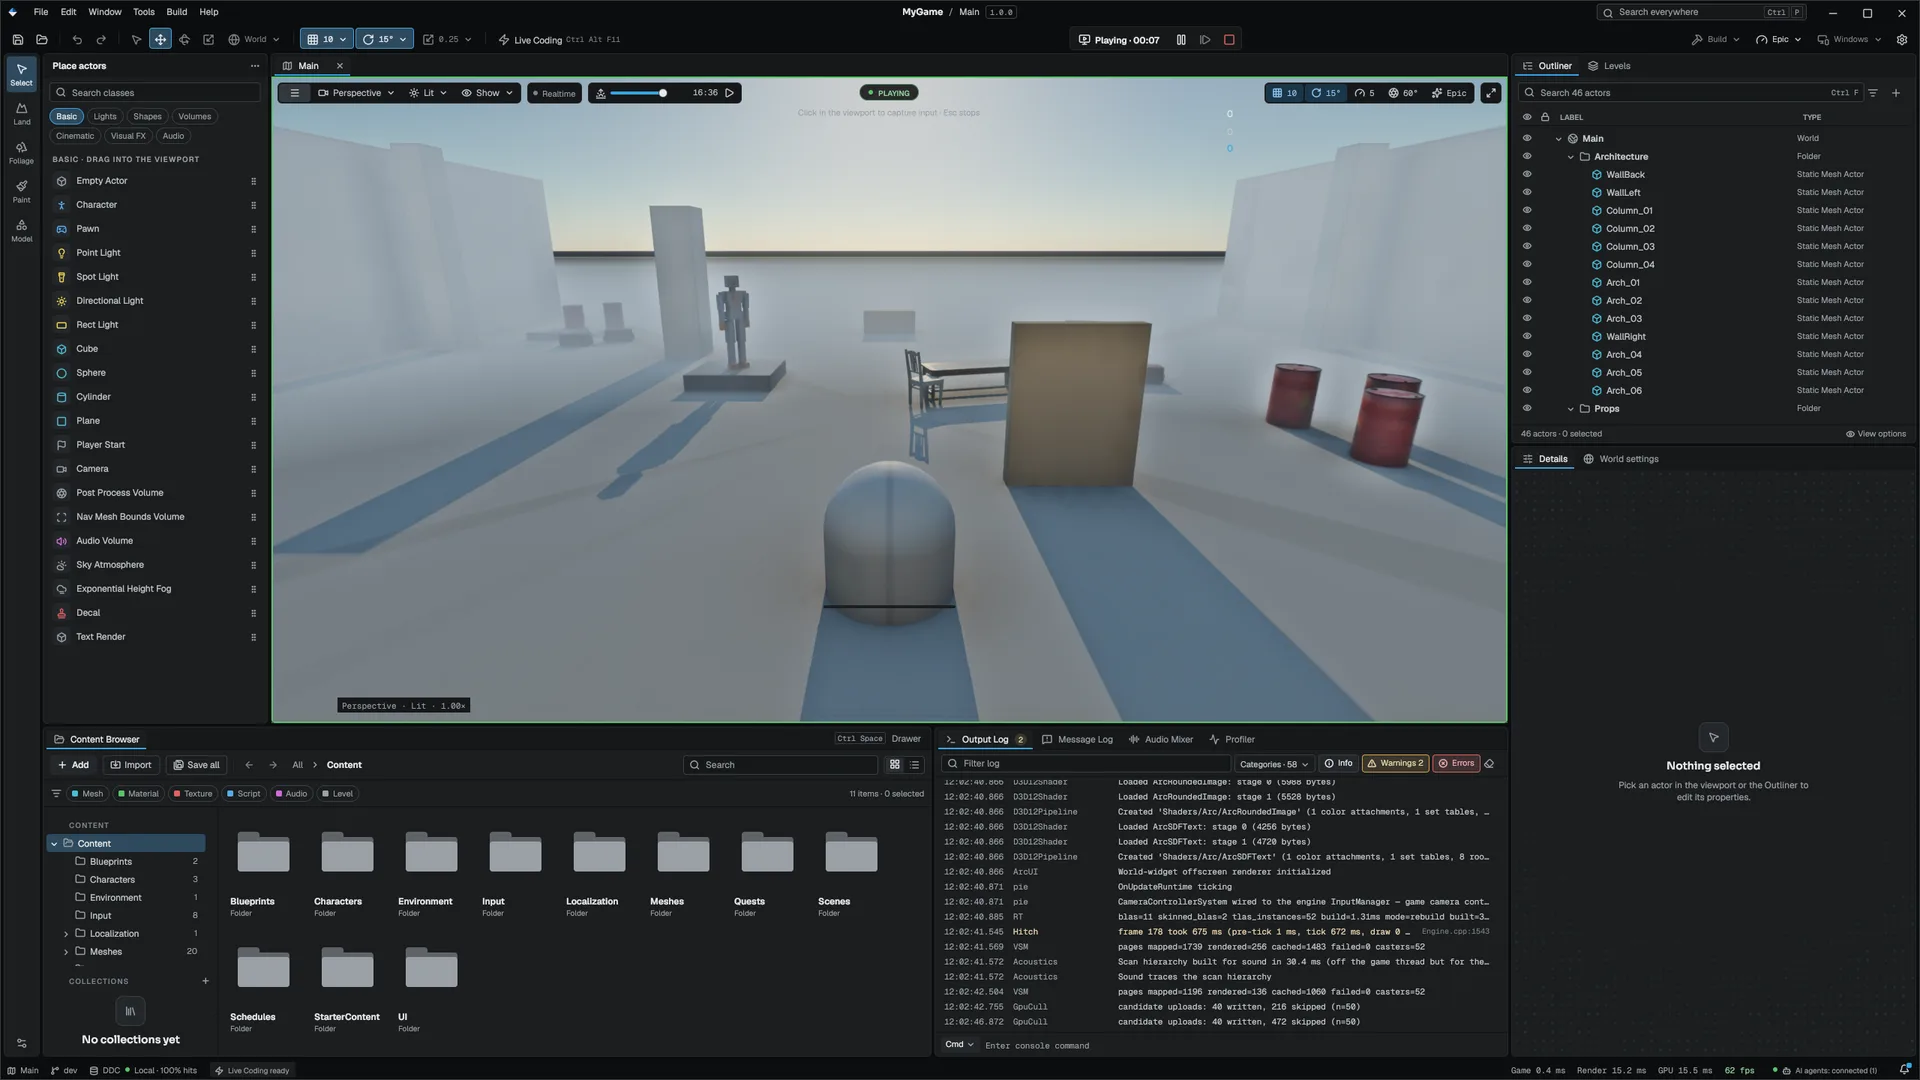
Press F5 or the toolbar's Play button. The level starts running inside the viewport. Press Esc to stop.
- Editing
- Playing
- Paused
- Stop
| Control | Shortcut | When |
|---|---|---|
| Play | F5 | Editing |
| Stop | Esc | Playing or Paused |
| Frame step | F10 | Paused |
| Eject / possess | F8 | Playing; detaches to the editor camera while the game keeps running |
| Keep simulation changes | K | Simulating, or Playing after F8 |
| Simulate | Alt+S | Editing |
The arrow next to Play opens more modes: Play in New Window, Simulate, Play As Client with a Multiplayer Clients count, and Standalone Game.
Play runs in a copy of the level. The level you edit is never ticked or written while you play, so Stop discards whatever gameplay changed. To keep a change you made while simulating, press K before you stop.
Next steps
- Your first build adds C++ and packages the project.
- Core concepts explains what actors and levels are underneath.
- Editor for every panel, the play modes and saving and recovery.
Engine sources
This page describes behavior implemented in these files of the engine repository, checked against commit 7f8f31f8d.
- Templates/TP_Blank/Content/Scenes/Main.mmap